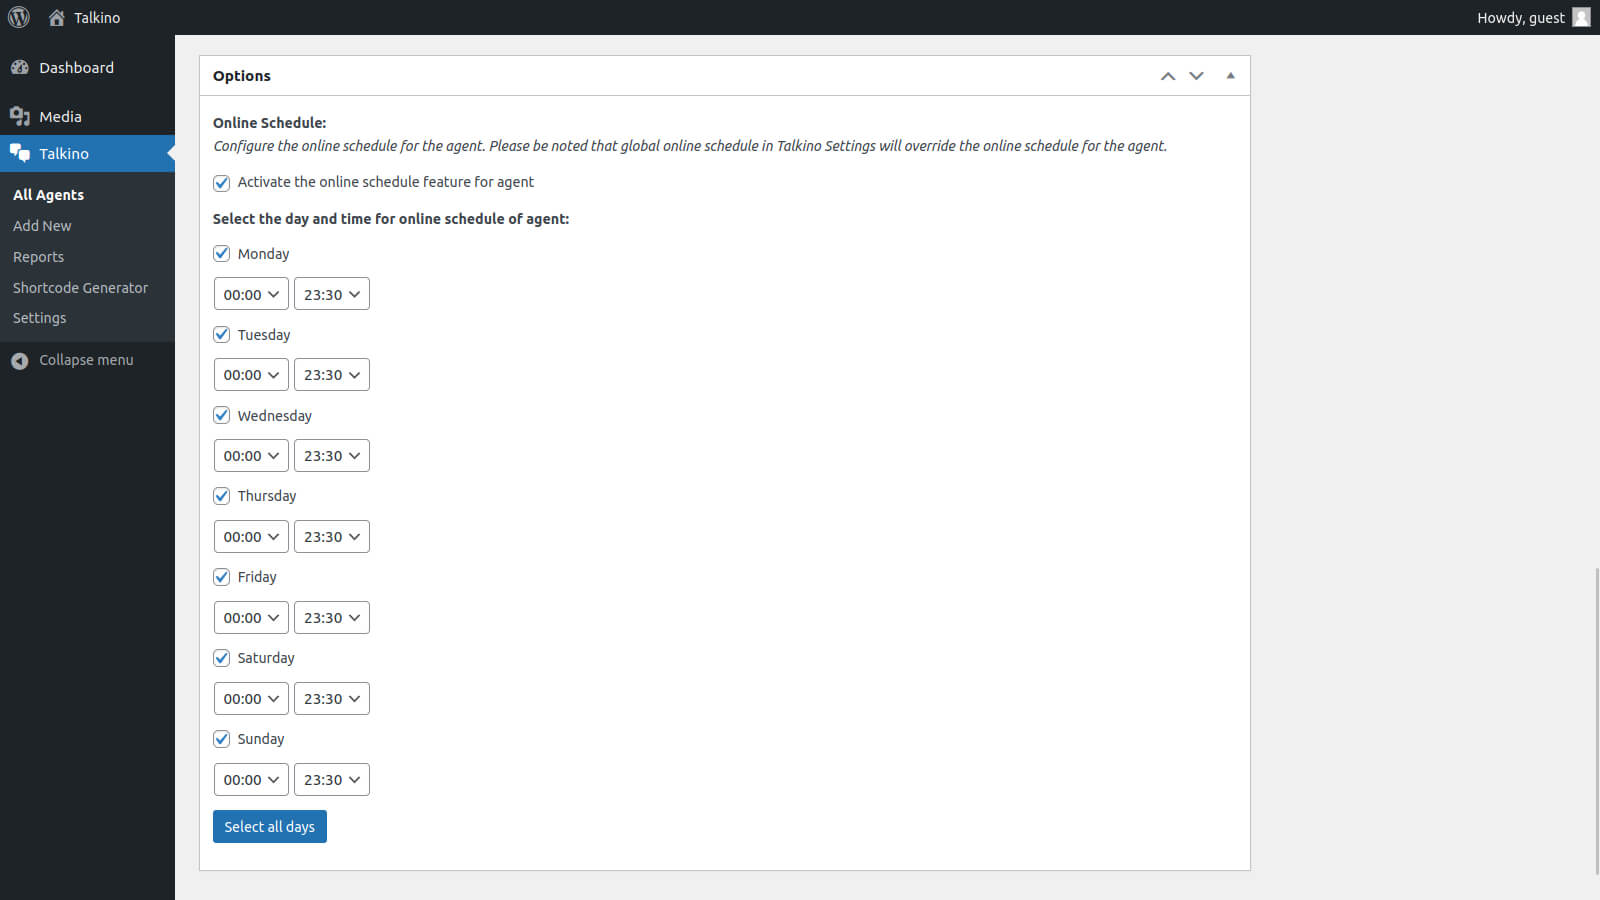
Online schedule for agents is a premium feature to allow administrator to setup the online time for each agent. Through this feature, you can arrange the available time of each agent to provide support to end users. For example, you can arrange the support team for day shift or night shift.
How to setup the online schedule for agent?
1. Go To WordPress Admin > Talkino > All Agents > Select Agent.
2. Under Options, tick the checkbox of ‘Activate the time schedule feature for agent’.
3. Set up the online schedule for the agent by selecting the day, start time and end time. You can click ‘Select all days’ button to select all the days.
4. Please be noted that the online schedule for agent can be overridden by the global online schedule in Talkino settings page.


0 Comments