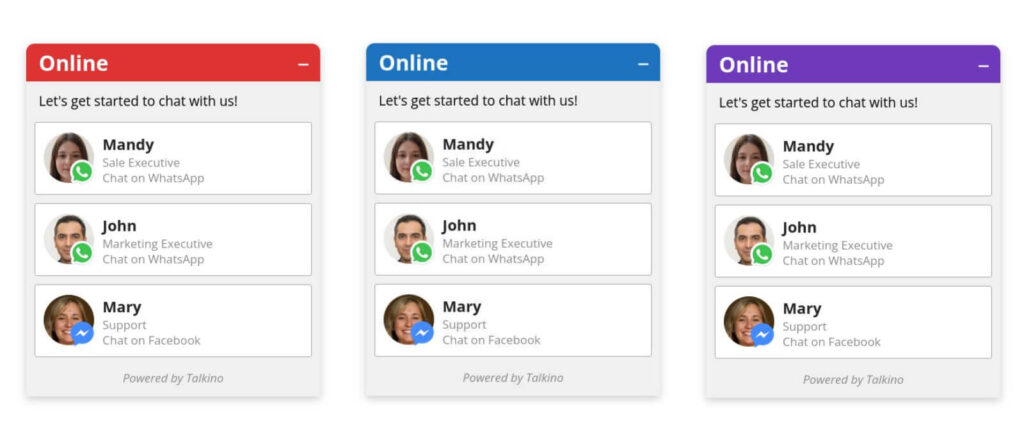
In the style settings of Talkino, you are able to choose ready color templates or customize the Talkino style to meet your favorite design. It includes the layout, the round or rectangle style of Talkino, left or right position display, whether to show on desktop or mobile, height of Talkino, the method to start chat, the color of theme, background color, different online status, and text display.

How to customize the styles of Talkino?
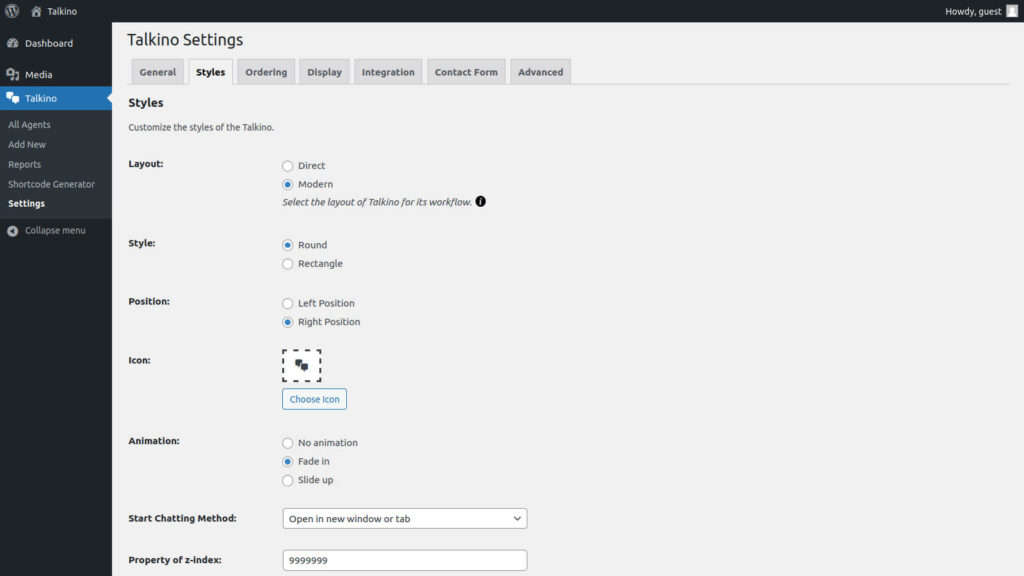
1. Go To WordPress Admin > Talkino > Settings > Styles tab.
2. Change the styles of Talkino to meet your favorite or theme design.
3. The styles include the followings:
- Layout – Both “Direct” and “Modern” layouts give you options to choose the workflow for displaying Talkino on your site. “Direct” layout displays agents with all their chat channels and “Modern” layout displays agents first before displaying the respective agent’s chat channels.
- Style – Either round or rectangle style of Talkino.
- Position – Either left or right position of Talkino.
- Icon – Choose the icon of Talkino.
- Animation – Change the animation of Talkino whether fade in or slide up animation.
- Start chatting method – Start to chat with agent either in new window or same window.
- Value of z-index – The z-index property specifies the stack order of an element (which element should be placed in front of, or behind the others). Increase the z-index so that the Talkino will be displayed in front of other elements.

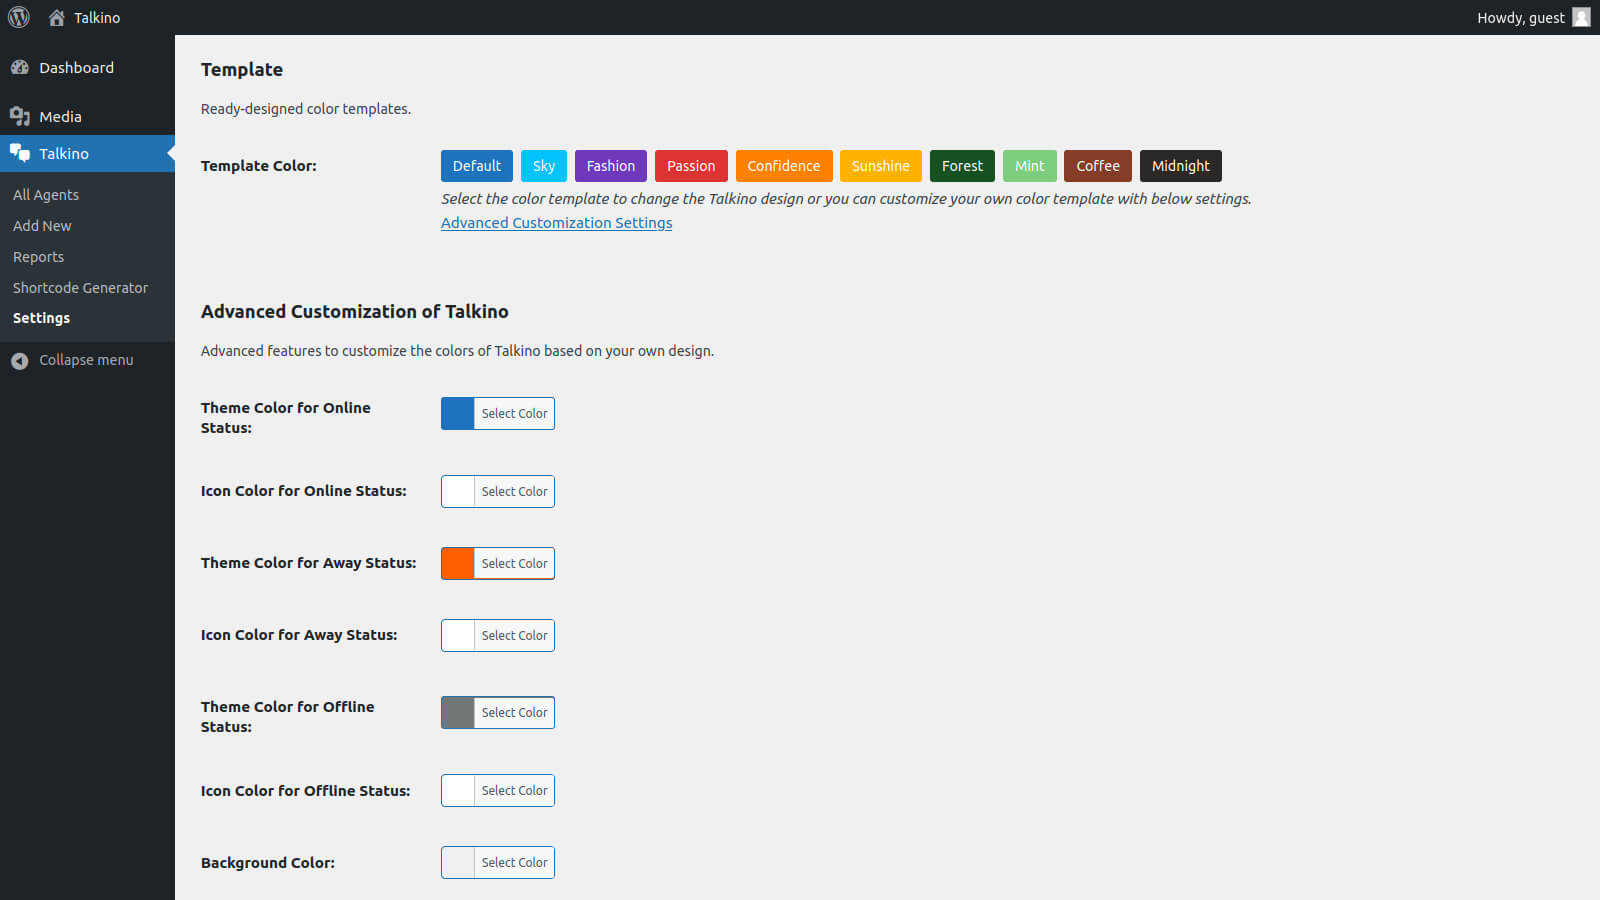
4. Choose ready color templates to meet the design style of your site.
5. You can customize your own color template such as icon color, background color and so on by clicking the ‘Advanced Customization Settings’ link:
- Advanced Customization of Talkino
It is an advanced feature to customize the colors of Talkino based on your own design.


0 Comments